REVIEW · DUBLIN
Dublin Jewellery Forge a Hammered Silver ring:Georges Street
Book on Viator →Operated by Silver Works · Bookable on Viator
A silver ring, made by your own hands. That’s the fun part of this Dublin workshop on George’s Street: you’ll shape, solder, texture, and polish your own sterling silver band. The best bit is that the process is explained in plain terms as you go, so it feels creative—not mysterious.
I especially like the hands-on customization (your ring curve, plus one of three hammer textures). I also love that you get complimentary coffee/tea and plenty of chocolate while you’re working, which makes a cold day in Dublin feel a lot less… cold.
One drawback to plan around: the studio is in old period buildings with plenty of stairs and no lift, and the buildings aren’t wheelchair accessible.
In This Review
- Key things to know before you go
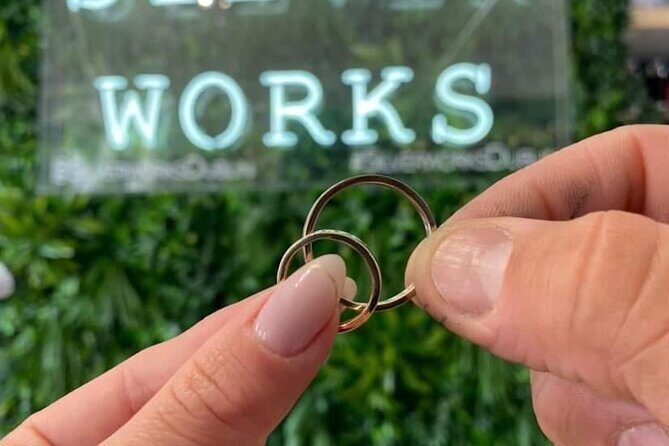
- Entering Silver Works on George’s Street
- Your 2-hour hammered silver ring roadmap
- From silver marking to soldering: where precision is taught
- Filing, curving, and making the ring fit your style
- Texture choices and planishing with a hammer
- Polish options: inside-only rustic or full sparkle
- Group size and instructor approach in a small studio
- Price and value: what $103.79 gets you
- Who should book this ring workshop?
- Should you book Dublin Jewellery Forge for your Irish souvenir?
- FAQ
- How long is the Dublin silver ring workshop?
- How much does it cost per person?
- What is included in the workshop price?
- Do I need any prior silversmithing experience?
- Are there age limits for the class?
- Is the studio wheelchair accessible?
Key things to know before you go
- Small groups (up to 12) keep the pace hands-on and the instruction easier to follow.
- Watch soldering up close: you’ll see the expert step in while explaining what’s happening.
- You choose your look with ring curve, inside-only vs full polish, and one of three textures.
- Planishing hammer time is where your ring becomes unmistakably yours.
- It’s a real keepsake: you leave with the handmade silver ring you created.
- Coffee, tea, and chocolate are included throughout, so you’re fueled for the crafting.
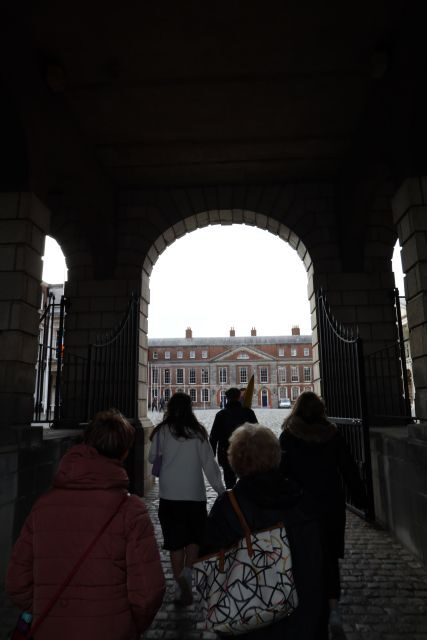
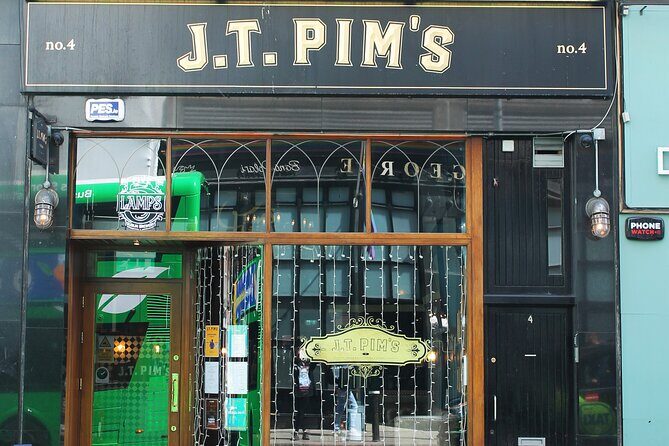
Entering Silver Works on George’s Street
Dublin is great at giving you classic souvenirs. This workshop gives you something better: a ring you made yourself, on the spot, in a real working studio.
The class runs about 2 hours, and it starts at Silver Works, 4 South Great George’s Street, Dublin 2. You’ll end back where you begin, so you’re not getting shuffled across the city. Instead, you’re staying in one focused space where your attention goes to your ring (and to the small chaos of hammers, files, and everyone learning together).
This is the kind of activity that works on a rainy day because it doesn’t depend on good weather. You get the experience indoors, you get a tangible result, and you walk out with a piece of Irish craftsmanship you’ll actually wear.
You can also read our reviews of more tours and experiences in Dublin.


Your 2-hour hammered silver ring roadmap
This workshop is built as a step-by-step craft lesson, from blank silver to a finished ring. The flow matters because each step prepares the ring for the next one.
Here’s how your time typically breaks down:
You start by deciding which finger you’re making the ring for, then marking the silver to the length you need. That might sound small, but it sets you up for a good fit later—length and finger choice are the basics of getting a ring that doesn’t end up too snug or too loose.
Then you cut the marked silver with a handsaw. After that, you shape it into a ring form using a mallet and a ring mandrel. Next comes the part that makes this class feel properly professional: you’ll watch the soldering stage while an expert tutor explains exactly what they’re doing.
After soldering, you file the ring using different hand files. This is when you can feel the difference between a ring that’s just assembled and a ring that looks right. You also customize the curve here—small adjustments can change the final feel a lot.
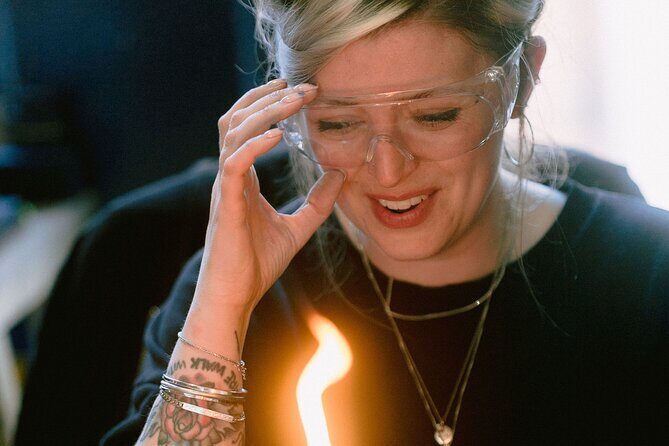
Then you choose from three different textures. Once you’ve picked your texture, you use a planishing hammer to create that hammered surface. This part is usually the most memorable, because it’s unmistakably “you” now.
Finally, you choose your polish finish. You can go with polish only on the inside for a more artistic/rustic look, or you can choose a fully polished ring for that extra sparkle. Either way, you’ll take your ring home.
Throughout the workshop, you’ll have coffee/tea and plenty of chocolate, which is surprisingly helpful when you’re focused and using your hands.
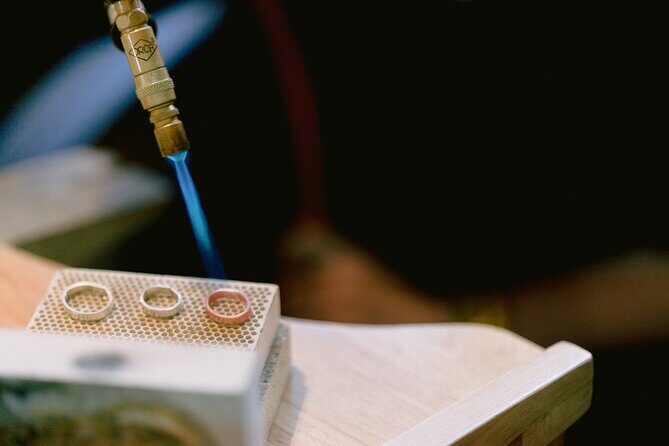
From silver marking to soldering: where precision is taught
The workshop starts with the stage most people think they’ll struggle with: measurements. In practice, it’s straightforward because the class guides you through how to mark the silver based on the finger you selected. You’re not expected to guess. You’re expected to follow.
Next up is cutting. You’ll use a handsaw to cut the silver to your marked length. This isn’t about speed—it’s about getting a clean start. Clean starts make finishing easier, especially when you’ll later file and refine.
After cutting, you’ll form the ring using a mallet to shape the silver around the ring mandrel. This is the moment where the workshop stops being abstract and becomes physical. You can literally see the band take shape.
Then comes soldering. The class includes a professional soldering demonstration where you can watch closely while the tutor explains what’s happening. That demo is important for two reasons: it shows proper technique (so you understand what you’re doing when your turn comes, or when you’re following along), and it removes the intimidation factor from a stage that sounds scary.
In past sessions, the instruction style people highlight has a consistent theme: patient, calm coaching with lots of reassurance. Names that show up in the instructor credits include Emily, Trisha, and Cat. Even if your hands aren’t steady every minute, you’ll likely feel supported enough to keep moving forward. This is one of those activities where the teacher’s job isn’t just to demonstrate; it’s to help you finish with pride.
Filing, curving, and making the ring fit your style
If soldering feels like the technical core, filing is the artistic core. Filing is where the ring transitions from “assembled” to “finished.”
You’ll learn to file with different hand files. Different files do different jobs, and the workshop helps you understand why. This is practical education: once you learn what each file changes, you’ll see the difference immediately.
Then you customize the ring curve. You’re not locked into one shape. The curve you choose affects how the ring sits on your finger and how it feels when you wear it. You can go for something more gentle, or something a bit bolder—your choice shapes the final style.
This is also where the class feels less like school and more like craft. You’re not just doing steps. You’re making decisions. That’s a big reason the workshop works as a souvenir: it’s not generic.
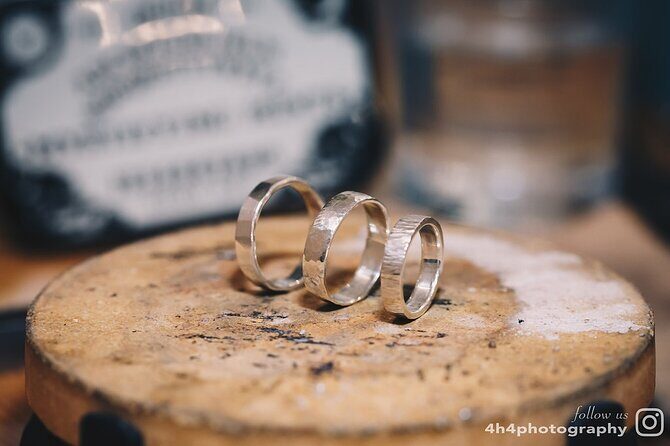
Texture choices and planishing with a hammer
Most souvenir shopping gives you the same thing in different wrappers. This class gives you surface texture you created.
You’ll choose from three very different textures, and then use your planishing hammer to create that hammered look on your ring. Planishing is basically controlled hammering that shapes the metal’s surface so it has character. In other words: you’re not just hitting things. You’re forming pattern.
This part matters because texture is what you’ll see every time you wear the ring. Even if someone can’t identify silversmithing terms, they’ll notice the look. Hammered metal reads as handmade, and it holds visual interest from every angle.
If you’re worried about messing it up, keep this in mind: the class is designed to be doable. The teaching style is described as step-by-step and reassuring, and the group size stays small enough that you can get help when you need it.
And because texture selection happens late enough in the process, you can commit to a style after you understand what your ring currently looks like.


Polish options: inside-only rustic or full sparkle
Finishing is where people often underestimate the impact. But your polish choice changes the vibe instantly.
You’ll choose between two options:
- Polished only on the inside: this gives an artistic/rustic feel. You still have comfort where it touches your skin, but the outside can keep more of that handmade personality.
- Fully polished: this is the glittery sparkle option. It looks cleaner and more reflective, and it really pops when you catch light.
Either choice is valid. The workshop doesn’t push one “correct” look. It lets you decide how you want your ring to feel—more rustic and tactile, or more polished and shiny.
This final choice also helps you match the ring to your wardrobe. If you like wearing simple jewelry and want the silver to glow, go full polish. If you want the ring to look like it came from a craft bench, inside-only can be a great fit.
Group size and instructor approach in a small studio
The class caps at 12 travelers, and a typical small group size makes a difference. When the studio is limited in space, too many people can turn a hands-on class into a waiting game. Here, the limit helps keep the tools and attention from turning into bottlenecks.
The studio space is small, which is why luggage storage isn’t offered. Plan to travel light. A daypack is fine; big suitcases are not part of the plan.
Instruction quality is a recurring theme in the feedback. People describe sessions where explanations are easy to follow, and teachers check in so you don’t feel lost. If you’re the type who learns better by doing, this class is set up for you.
Past reviews also mention that the pace works well for mixed ages, with one parent noting a daughter around 14 kept up comfortably. That said, the workshop isn’t intended for everyone under a certain age.
Price and value: what $103.79 gets you
At $103.79 per person, this isn’t a cheap activity in the usual tourist sense. But this is not a passive show, and you aren’t leaving with a paper certificate.
Your price includes sterling silver for your ring, plus coffee/tea and lots of chocolate throughout. That’s key. You’re paying for materials and guided making, not just “watching someone else work.”
You also get a take-home item that you personally designed: curve, texture, and finish. That turns it from an experience-only purchase into a wearable souvenir. Many people end up valuing that more than a standard retail buy, because you’ll connect the ring to a specific memory in Dublin—working hands, hammer sounds, and a teacher walking you through the tricky steps.
There’s also the practical value of time. You’re in the workshop about 2 hours. That fits neatly into many Dublin itineraries without gobbling a whole day.
Who should book this ring workshop?
Book this hammered silver ring class if you want an Irish souvenir with a story you can actually tell—one where the ring on your finger is proof you did something hands-on.
It’s especially good for:
- First-timers who want a beginner-friendly craft lesson with guidance
- People who like making decisions (curve, texture, polish)
- Anyone who wants a souvenir that isn’t mass-produced
It may be less ideal if:
- You need step-free access. The studio is in old buildings with lots of stairs and no lift.
- You’re traveling with heavy luggage. There’s no luggage storage.
- You’re bringing young kids. Children under 10 aren’t suitable.
If you can handle a short stair climb and you’re ready to use your hands, this is a very satisfying Dublin activity—more satisfying than another quick photo stop.
Should you book Dublin Jewellery Forge for your Irish souvenir?
Yes, if you want something genuinely personal and you like the idea of taking home a ring you made from scratch. This workshop has the rare combo of hands-on crafting plus clear instruction plus a final product that feels worth the time.
I’d book it sooner rather than later, since it’s popular (it’s commonly booked about a month ahead). And if the weather outside is miserable, take that as your sign: this is one of the best ways to turn a slow day in Dublin into a useful, memorable one.
If you’re on the fence, ask yourself one question: do you want to buy a souvenir, or do you want to make one? If the answer is the second option, this hammered silver ring workshop fits the bill.
FAQ
How long is the Dublin silver ring workshop?
It runs for about 2 hours.
How much does it cost per person?
The price is $103.79 per person.
What is included in the workshop price?
Sterling silver for your ring is included, along with coffee and/or tea plus lots of chocolate.
Do I need any prior silversmithing experience?
No prior experience is required. The workshop is designed so you can learn the process step by step.
Are there age limits for the class?
Children under 10 are not suitable. Children under 16 need to be accompanied by a paying adult.
Is the studio wheelchair accessible?
No. The buildings used for the studio are not wheelchair accessible and there is no lift. There are plenty of stairs.