REVIEW · DUBLIN
Dublin: Forge a Silver Ring Workshop on George’s Street
Book on GetYourGuide →Operated by Silver Works · Bookable on GetYourGuide
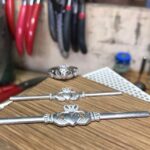
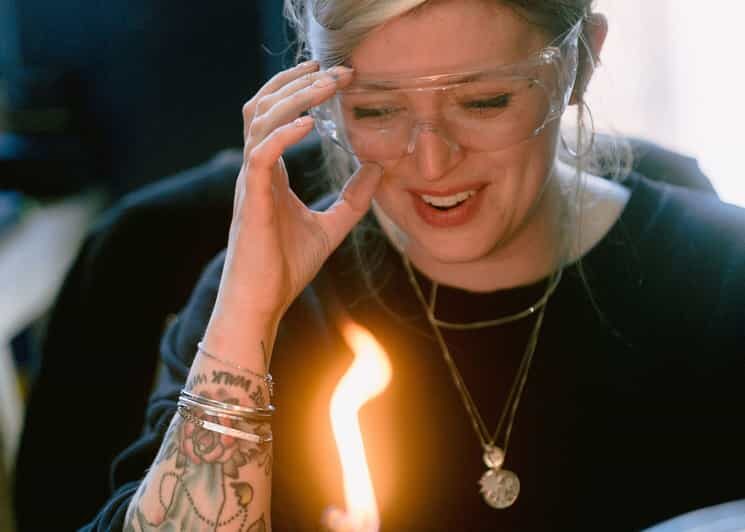
You get to leave Dublin with a ring you made yourself. This hands-on sterling silver workshop on George’s Street is a focused 2-hour craft session where you shape, solder, texture, and polish your own band. I love how direct the process feels, from marking the silver to filing the final edges, and I like the relaxed pacing in a small group setting.
The best part is the personal coaching. An expert tutor stays with you through the tricky steps, and you end up with a ring that looks intentional, not thrown together. One thing to consider: the studios have steep stairs, so this isn’t a good fit if mobility is an issue.
In This Review
- Key things that make this ring workshop worth your time
- Making Rings in Dublin’s George’s Street Studios (and What You’ll Actually Do)
- The Workshop Flow: From Silver Marking to Final Polish
- Small Group Coaching: Why You Leave With a Ring That Looks Made
- Design Choices That Matter: Size, Curve, Width, and Texture
- Finish Options After Class: Engraving and Gold Plating Timelines
- Price and Value at $98: What You’re Really Paying For
- Practical Dublin Logistics: Finding the Door, Showing Up, and Staying On Time
- Who Should Book This Ring Workshop in Dublin?
- Should You Book Forge a Silver Ring on George’s Street?
- FAQ
- How long does the Dublin silver ring workshop take?
- Where is the George’s Street studio located?
- Is there another location besides George’s Street?
- What’s included in the price?
- Are engraving and gold plating included?
- How much extra is engraving or gold plating?
- Can children take part?
- What about English language requirements?
- Is it suitable for wheelchair users or impaired mobility?
- What’s the group size?
Key things that make this ring workshop worth your time
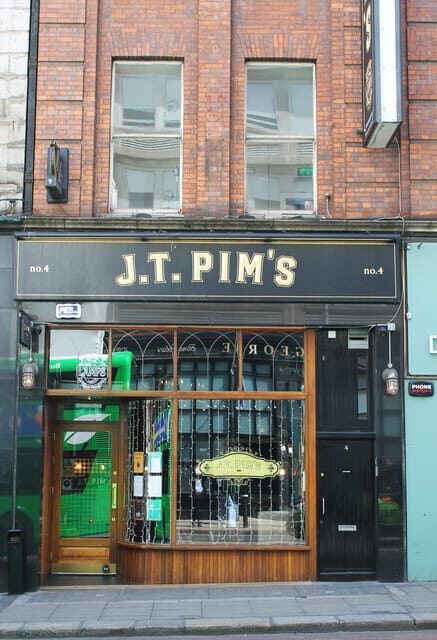
- George’s Street location: the studio sits above JT Pimms, with a black door and a buzzer for entry
- 2-hour full process: you cut, shape on a mandrel, solder, file, texture, and polish
- Design control: choose your finger size, ring curve, and one of three texture options
- Small group coaching: limited to 6 participants, so questions actually get answered
- Take-home souvenir: you leave with your finished silver ring plus tea/coffee and snacks
Making Rings in Dublin’s George’s Street Studios (and What You’ll Actually Do)
This workshop is built around one goal: you forge a sterling silver ring in Dublin and take it home as a real souvenir. It runs in brand-new studios on George’s Street, and the location is central enough that you can roll it into a day of sightseeing without feeling like you’re crossing the city.
To find the place on George’s Street, look for the studio above a bar called JT Pimms. There’s a black door to the right, and you press the buzzer for entry. If you prefer a different walk, there’s also a second central option on Drury Street, which you can book if you want more scheduling flexibility.
In plain terms, this isn’t a demo where you sit and watch. You’ll handle the metal, learn the tools, and make choices that change how your finished ring looks and feels. And because it’s only a 2-hour session, it stays practical: you’re not committing to a full day of classes.
A few more Dublin tours and experiences worth a look


The Workshop Flow: From Silver Marking to Final Polish
Your session follows a logical craft sequence, and each step teaches you what matters for a ring that fits and looks good.
1) Marking and cutting to size
You start by choosing which finger you want the ring on. That choice drives the measurement. You then mark the silver to the required length and use a handsaw to cut it to size. The saw work can feel intimidating at first, but the tutor guides you through the method so you’re not guessing.
2) Shaping the band on a ring mandrel
Next, you form the ring using a mallet to shape it around the ring mandrel. This is where you go from flat metal to an actual band. It’s also a key moment for getting a ring that sits correctly when it’s finished.
3) Soldering with expert guidance
You watch the join get soldered, but you’re not left alone with it. An expert tutor guides you through what you’re seeing and what you need to do next. This is one of the steps that separates a fun craft from a real fabrication experience.
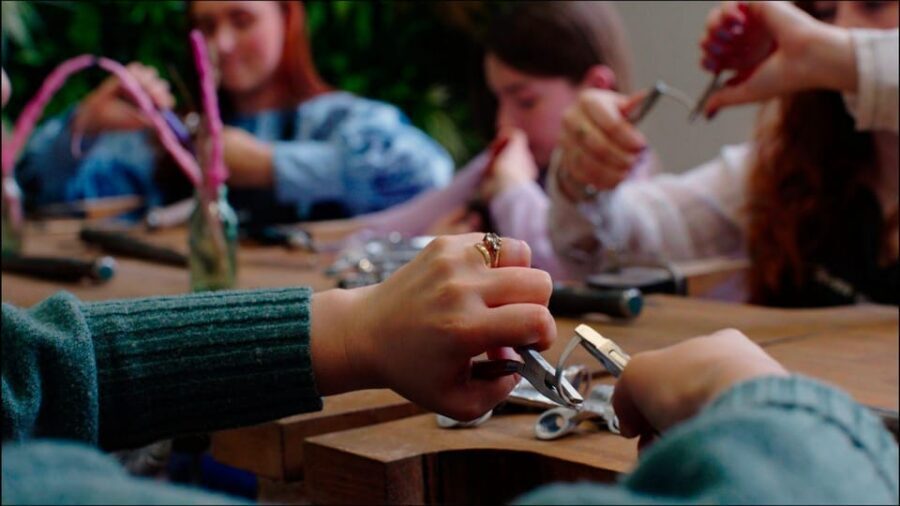
4) Filing for fit and finish
After soldering, you file the ring using different hand files. Filing is slow if you do it alone, but here you’re learning how to shape the edges and smooth out the work so the ring feels right. You also have a chance to adjust things before moving on.
5) Choosing the curve that changes the look
You then personalize the ring by deciding what curve you’d like it to have. That small choice can make a big difference in the final look, especially in how light catches the band.
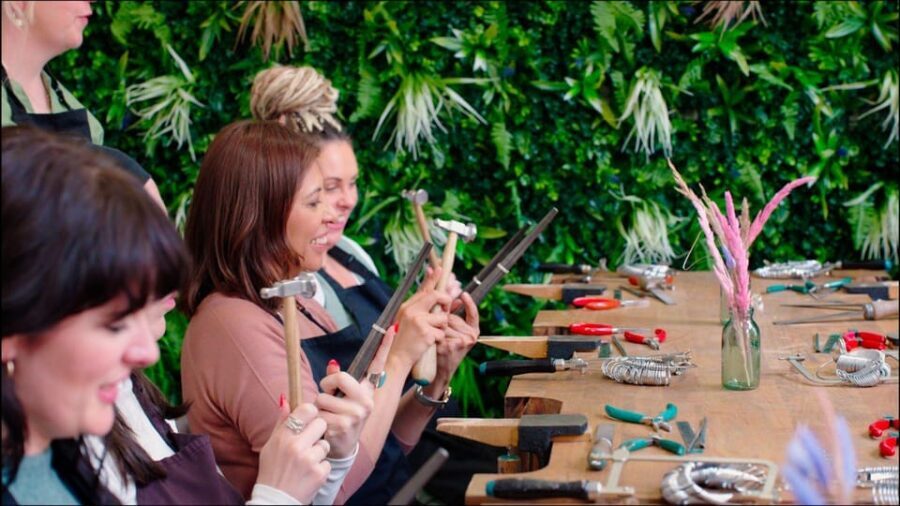
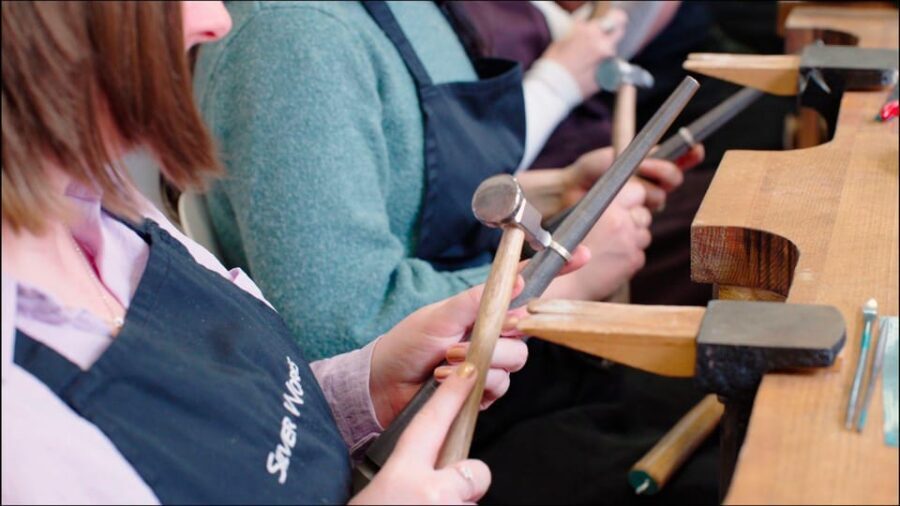
6) Texture selection using the planishing hammer
Now comes the fun part: you pick from three very different textures. With your planishing hammer, you create the texture you chose, which gives your ring that handmade character. If you like the idea of a ring that looks different from the standard shiny band, this is where you make it yours.
7) Polish and final reveal
To finish, you select your polish. You leave with the ring complete, as a souvenir you can wear. It’s a satisfying end to the session because you see everything come together in one morning or afternoon block.
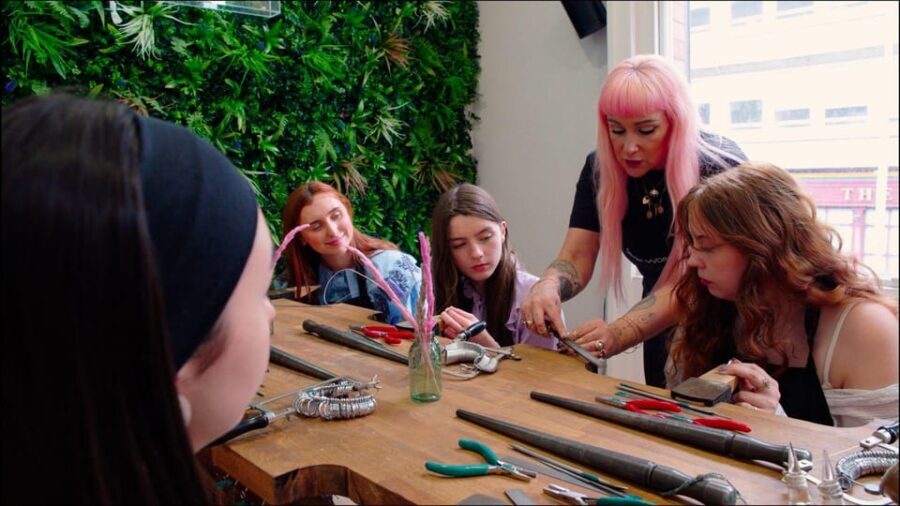
Small Group Coaching: Why You Leave With a Ring That Looks Made
This workshop limits participation to a small group of up to 6 people. That matters more than it sounds. With fewer people around, your tutor can correct your technique in real time and keep the pacing steady for everyone.
The experience is guided by an instructor who teaches in English, and the workshop requires a good level of English so you can follow the steps and instructions. If your English is strong enough to understand directions and questions, you’ll feel confident during the tools and safety moments.
I also like that the session doesn’t rush you through the creative choices. The ring-making portion is technical, but your tutor stays involved through the key steps. One review noted how Kate helped when things felt stuck, and that’s exactly the kind of reassurance you want in a hands-on craft where you’re learning as you go.
Design Choices That Matter: Size, Curve, Width, and Texture
The ring you take home doesn’t just reflect your work. It reflects your decisions.
Finger and length
You start by choosing which finger the ring will be worn on. That’s your first design input, and it shapes everything that comes after. It also means you’re not building something abstract. You’re making a wearable piece.
Curve selection
You’ll decide what curve you want the ring to have. This affects both comfort and appearance. A subtle curve can make a band look more refined, and you can shape it in a way that matches your style.
Texture options
You choose one of three texture styles. Textures can range from smoother visual patterns to more pronounced effects, but either way, this step is your shortcut to a ring that looks characterful and personal. The planishing hammer helps turn your chosen style into something you can see immediately.
Width add-ons
Different width metals are available as optional add-ons: 3mm, 5mm, and 6mm, each with its own extra cost. If you already know you want a thicker band or a slimmer look, it’s worth considering these options before you arrive.
If you’re the type who likes to control the details, this workshop gives you several ways to do it: size, curve, texture, and polish. You don’t just stamp out a generic band.
Finish Options After Class: Engraving and Gold Plating Timelines
Your base workshop includes polishing, so you can take home a finished silver ring at the end of the 2-hour session.
If you want to add more personalization, there are optional upgrades:
- Engraving is available for an extra €30 per ring, and it takes about 48–72 hours after the class to be completed.
- Gold plating is also €30 per ring, but it takes about 3 weeks.
This matters if you’re buying the ring as a gift. Engraving is the faster option for a practical handover if your trip ends soon. Gold plating can be perfect if you’re thinking longer-term, but you’ll be waiting for it.


Price and Value at $98: What You’re Really Paying For
At around $98 per person, this workshop is priced for the real craft value: expert instruction, time at the tools, and the fact that you leave with a sterling silver ring you made yourself.
Here’s why it’s good value compared with a typical souvenir stop:
- You’re paying for a skilled, guided process, not just a ticket. The tutor helps with steps like shaping and soldering so you don’t end up with a ring that looks rough.
- It’s limited to a small group, which reduces waiting and increases the chance of getting direct feedback.
- You get a wearable keepsake built from scratch, plus tea/coffee and snacks included.
The potential downside is that optional upgrades can add up. Engraving and gold plating are extra, and wider metal options also cost more. If you stay with the included materials and polishing only, your total stays straightforward.
Practical Dublin Logistics: Finding the Door, Showing Up, and Staying On Time
This is a timing-sensitive activity. The session starts at your booked time, and you should plan to arrive 10 minutes early. If you’re late, you can’t be admitted beyond 10 minutes after the start.
That’s especially important if you’re coming from the airport. The workshop does not offer transfers for late flights, so you’ll want a cushion in your schedule.
Also, the studios have steep stairs, and they’re not suitable for wheelchair users. If you have mobility limitations, you’ll want to think hard about whether you can manage stairs comfortably. The studios are also not suitable for people with visual impairment, since the workshop involves close-up work and tools.
One more English note: because the instruction is in English, you’ll get the most out of it if you can follow directions and ask questions.
Who Should Book This Ring Workshop in Dublin?
This one fits best if you want something hands-on during your Dublin visit that doesn’t feel like a museum stop.
It’s a strong match for:
- couples looking for a meaningful shared activity
- solo travelers who like skill-based experiences
- families with children over 10, as long as anyone under 16 is accompanied by a paying guardian
It also works well when you want a break from walking. Two hours is enough time to learn, make, and feel proud, but it’s not so long that it crashes your whole day.
If you’re traveling with limited time and want a central option, choose the studio on George’s Street or the alternative on Drury Street depending on your schedule. Both keep you in the city center.
Should You Book Forge a Silver Ring on George’s Street?
I’d book this if you want a Dublin souvenir with actual craftsmanship behind it. The experience is structured, hands-on, and paced for real learning, and the small group size helps you get support when you hit a tricky step. You’re not just buying a ring. You’re making one.
Skip it if stairs or visual accessibility are a concern, or if you don’t feel comfortable with English instructions. Also think about whether you want optional engraving or gold plating, since those add costs and (for gold plating) a longer wait after your trip.
If you’re up for tools, patience, and a little creativity, this is one of those rare activities that ends with something you’ll wear later, not just something you’ll photograph and move on from.
FAQ
How long does the Dublin silver ring workshop take?
The workshop lasts 2 hours.
Where is the George’s Street studio located?
It’s above a bar called JT Pimms. There’s a black door to the right, and you press the buzzer for entry.
Is there another location besides George’s Street?
Yes. There’s also a workshop option on Drury Street.
What’s included in the price?
Your workshop includes the forging experience, an expert tutor, your individual sterling silver ring, tea/coffee, and snacks.
Are engraving and gold plating included?
No. Engraving and gold plating are optional extras.
How much extra is engraving or gold plating?
Engraving costs €30 per ring and takes about 48–72 hours after class. Gold plating costs €30 per ring and takes about 3 weeks to complete.
Can children take part?
The workshop is suitable for children over 10 years old. Anyone under 16 must be accompanied by a paying guardian.
What about English language requirements?
A good level of English is required so you can follow the workshop.
Is it suitable for wheelchair users or impaired mobility?
Unfortunately, no. The studios have steep stairs and aren’t suitable for people with impaired mobility.
What’s the group size?
It’s a small group limited to 6 participants.